
[2024] Knife making experience
I am Okudaira, the owner of "Japanese Kitchen Knife TOKU''.
We want to sell knives made in our hometown of Sakai, Osaka, so we purchase and sell knives made in Sakai from a knife manufacturer in Sakai.
We don't just sell knives, we visit a number of blacksmiths and bladesmiths in Sakai to help our customers understand knives, experience the actual work, and hear from the craftsmen. I'm here. In addition to Sakai, we also visit Seki in Gifu, Tsubame-Sanjo in Niigata, Tanegashima in Kagoshima and Katsushika in Tokyo, in an effort to deepen our understanding of the characteristics and commitment of each.
Knife making experience
There are many knife-related businesses in our hometown of Sakai, Osaka.
Some of these companies offer tours and experiences so that you can learn more about knife making.
The site ``Sakai, the Beginning of Everything'' introduces businesses that offer tours and experiences, so I think you should also check it out.
What I would like to introduce to you today is an experience of the final process of attaching the blade and handle to a knife.
Now, let's take a look at the contents of the experience.
After arriving at the shop and briefly greeting them, they will take us to a nearby knife museum called Sakai Denshokan.
There, we will receive an explanation of the origin and history of Sakai knives. (The history of Sakai cutlery is also written here, so please take a look as well.)
History of Sakai cutlery
We will be looking at an exhibition of knives that we usually see, such as Deba knives and Menkiri knives, as well as specialized knives called special knives. We can see a variety of knives that can be used for more than just cutting ingredients, such as a long tuna knife, a knife for shaving Sakai's specialty kelp, and a knife for cutting tatami mats.
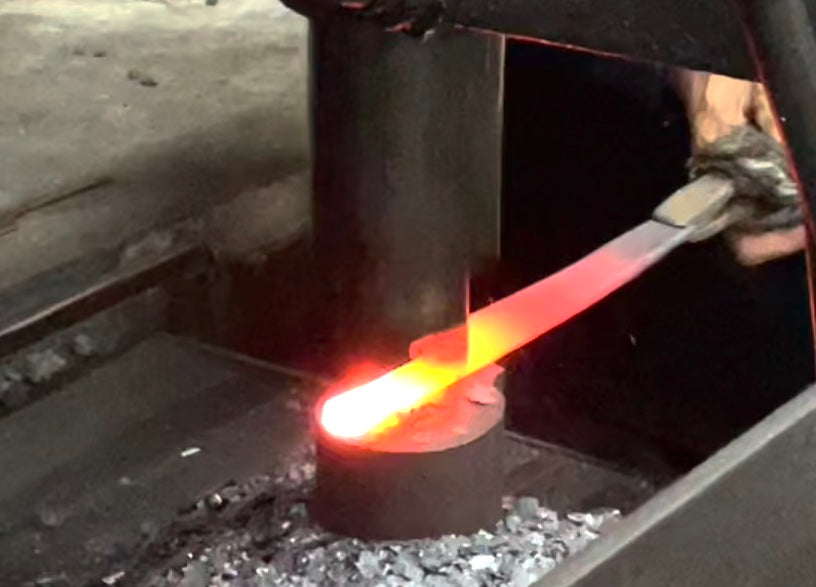
There is also an exhibition of belt hammers used in the blacksmithing process.
A belt hammer is used to hammer hot steel into the shape of a knife. When there were no belt hammers, people used to swing the hammer down to do the work.
Finally, watch a video of the production process. A blacksmith and blade craftsman (traditional craftsman) appears and comments on Sakai knives.
This concludes the explanation of the knife.
Return to the shop and begin our knife making experience!
The knives that have been made in advance will undergo the final cutting and sharpening work, but first craftsman will show us what it is like to have a knife that is not sharp. I use a sharp knife to cut the newspaper, but if it's a dull knife, the blade won't go through. Also, when we put the blade on the kamaboko board, check to see if it slides smoothly.
Next, the sharpening craftsman will demonstrate how to sharpen a knife that is not sharp.
Now, it's the experiencer's turn.
For those who have never sharpened a knife, let's practice first.
First, cut the newspaper with a sharp knife to check. Of course, it won't come out cleanly.
Next, ask us to explain how to hold the knife.
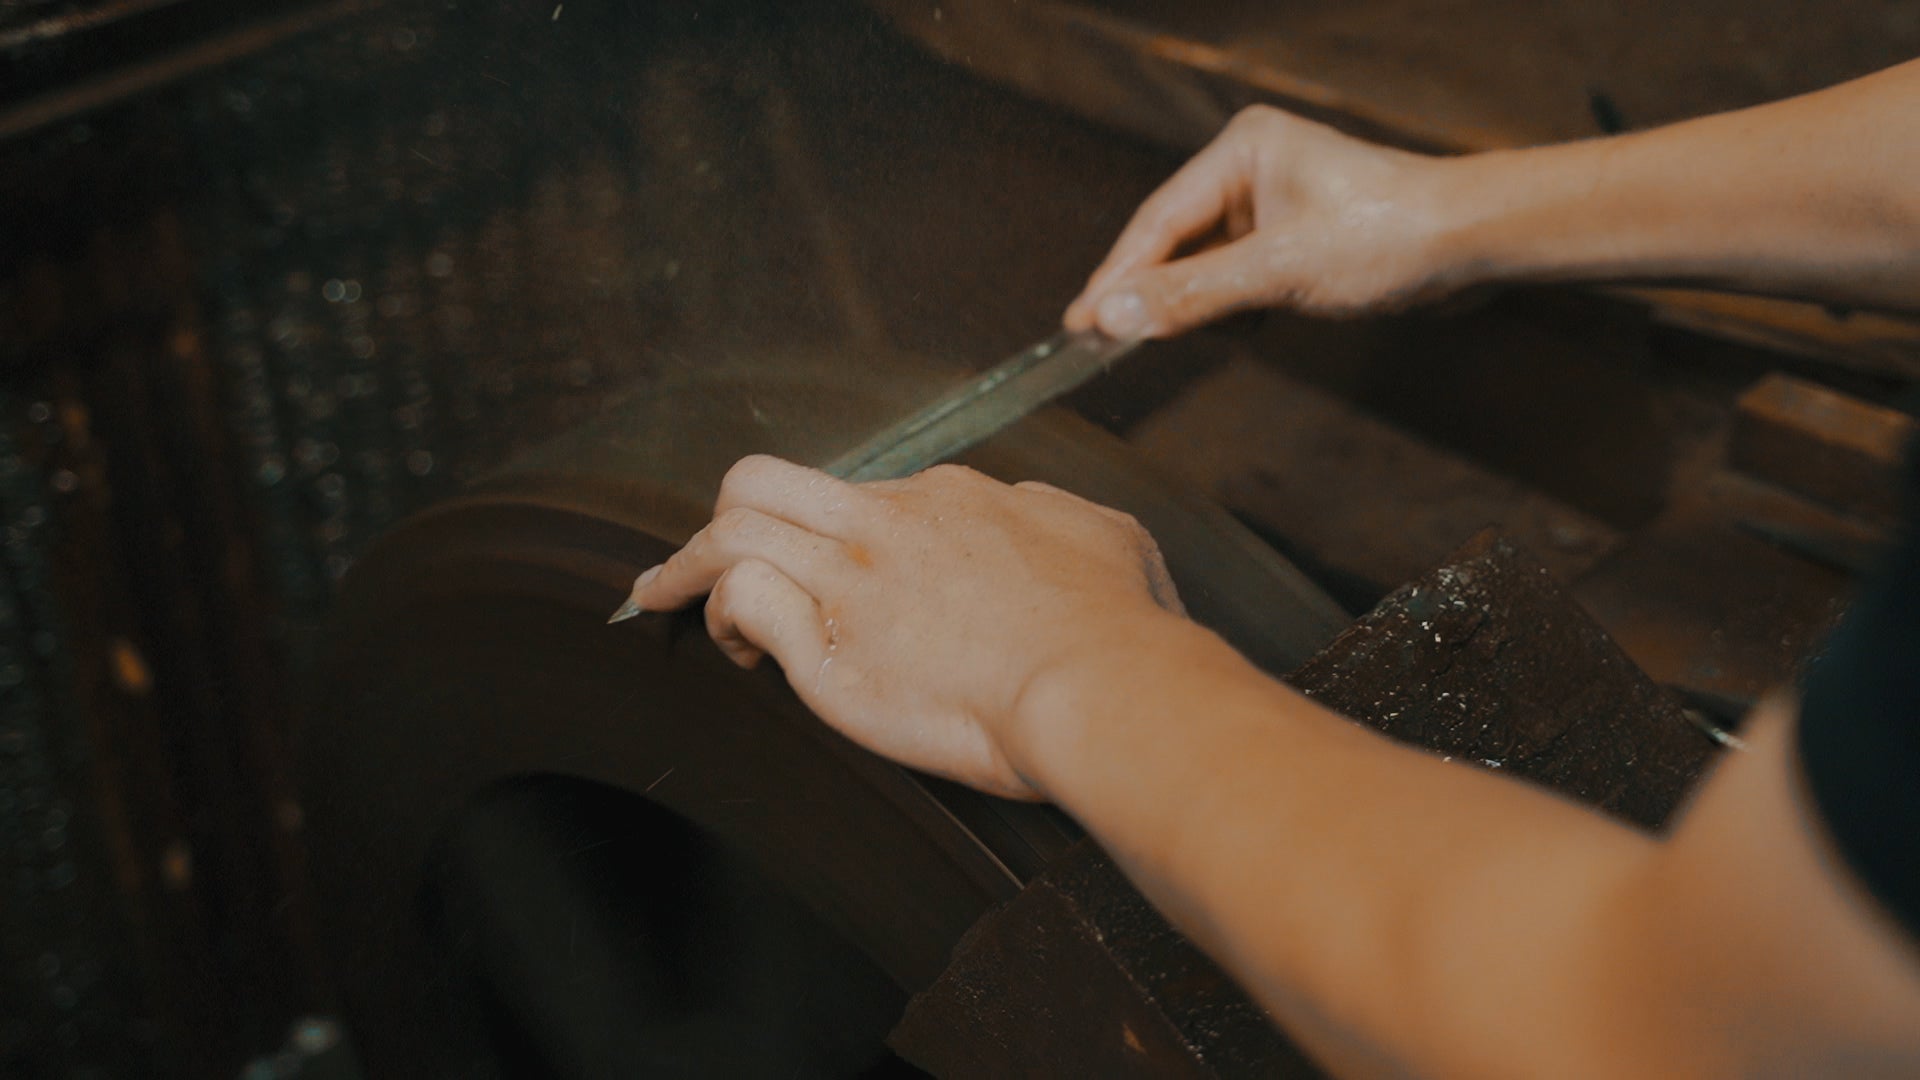
After confirming how to hold the knife, it's time to actually sharpen the knife.
Sharpen the front blade in order from the base to the tip, and when the front side is finished, sharpen the back side in the same way. At this time, since it was a double-edged knife, I sharpened both the front and back sides.
After sharpening, try cutting the newspaper with the sharpened knife, as we confirmed with the newspaper first.
Confirm that the newspaper can be cut easily.
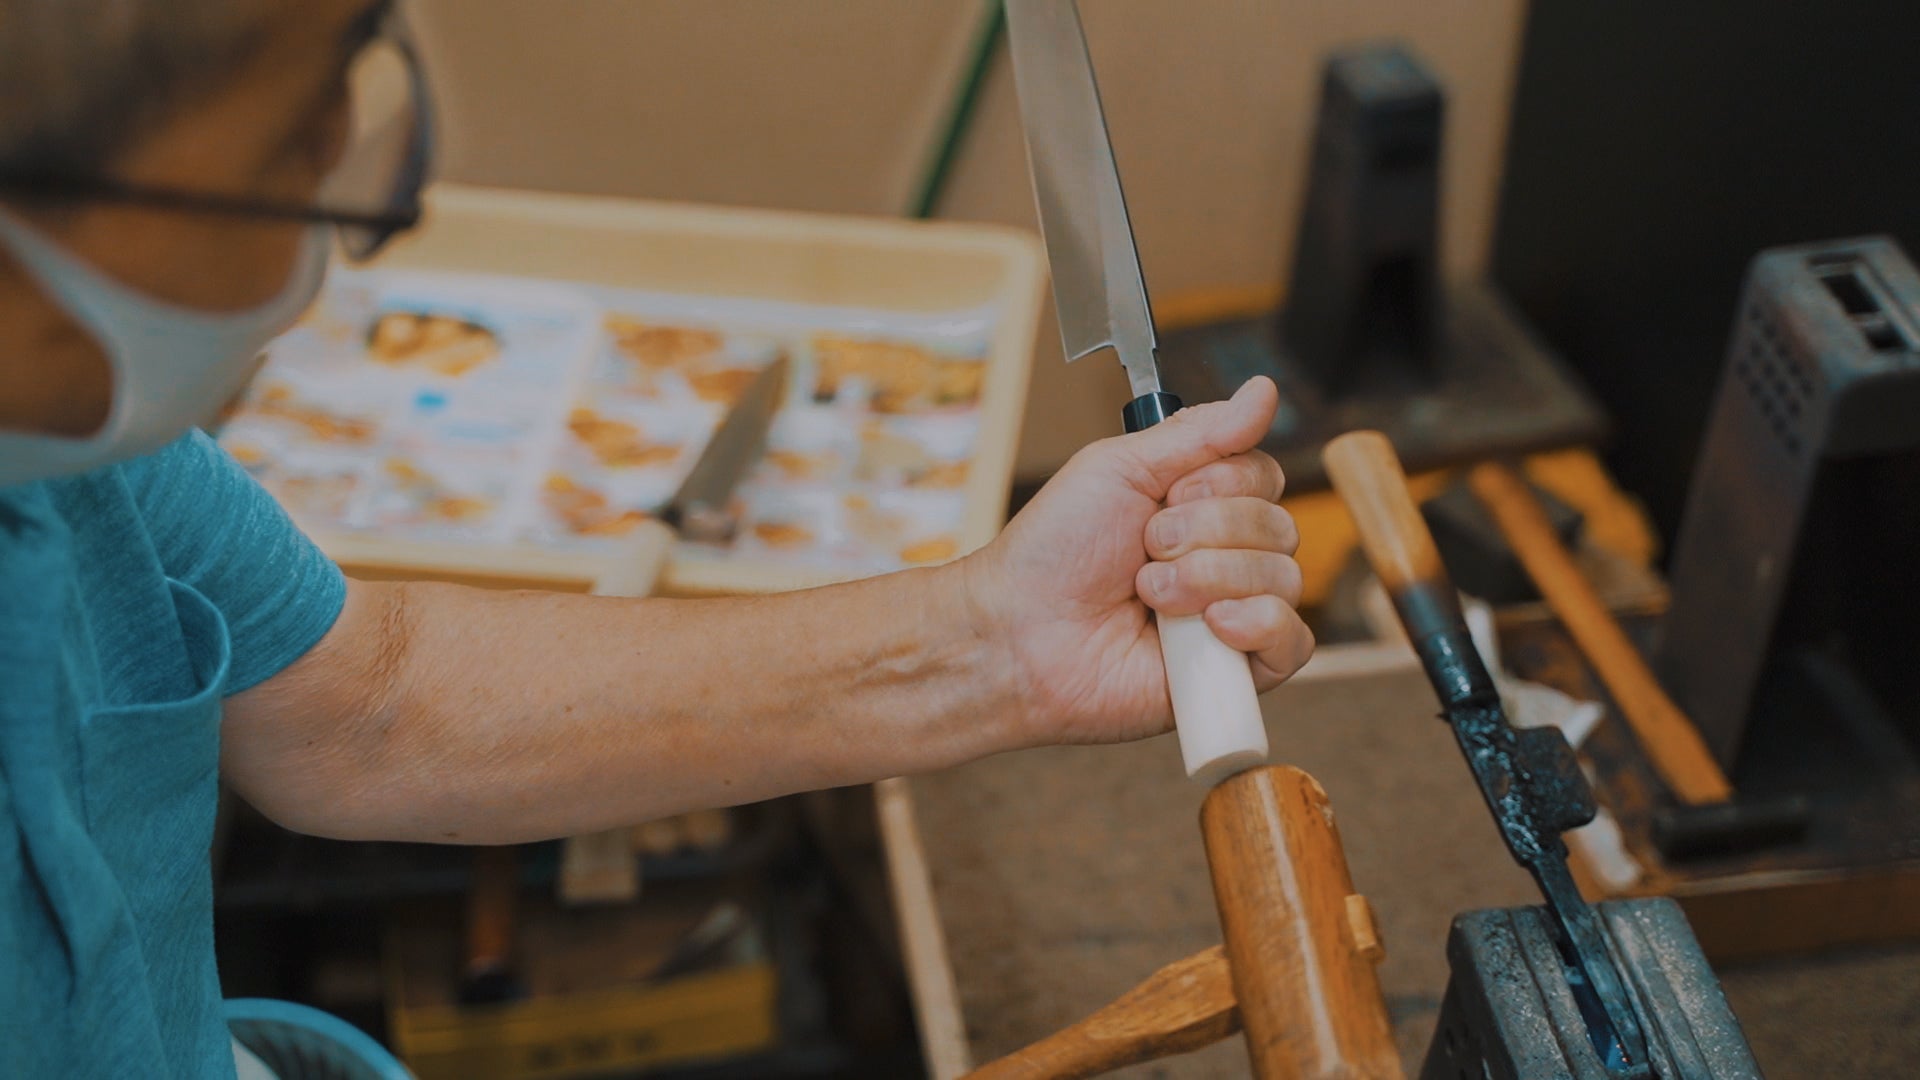
Now, it's time to sharpen my knife.
The knife I have selected in advance is ready for final sharpening.
You can choose a knife from Deba knife, Sashimi knife, Santoku knife, or Petty knife, so choose it when you apply for the experience. Additionally, they will engrave letters called inscriptions, so please let us know what letters you would like them to be included at the time of application.
I'm going to sharpen the knife I ordered in advance, but at first I'm worried about whether I can sharpen it properly.
As you practiced earlier, start sharpening from the base of the front blade to the tip.
5 times at the base of the blade, 5 times slightly off to the edge, 5 times around the middle, 5 times at the edge...
Once the front side is sharpened, start sharpening the back side. In the same way, start sharpening at the base of the blade, moving slightly away from the base, and then sharpening towards the edge. Once you have finished sharpening, check the sharpness by cutting a piece of newspaper like you did during practice.
When you see the knife go in smoothly, you feel relieved that it was sharpened successfully.
If you learn how to sharpen a knife in this way, you will be motivated to sharpen it after purchasing it.
Now, once the blade attachment is complete, it's time to attach the handle.
The knife has a part called the core that is inserted into the handle, and this part is heated with a burner.
The handle is made of wood, but since each piece is made by hand, it is necessary to adjust the part that will be inserted.
Try plugging it in a few times to find the perfect condition.
When it's in just the right condition, insert the core into the wooden handle and hit it from below with a mallet, and the knife will be sucked into the handle.
Check that it is not distorted from side to side or front to back, fix the handle and knife, and you are done!
Eh, is it easy to get a pattern like this? It's a bit of work, but if it's not attached straight, you won't be able to cut the food properly, so the last minute adjustment is important. I think it's all about craftsmanship.
The wood used for the handle (in this case, magnolia wood) is shaped into the handle by hand one by one, so each knife is hand-crafted, and each knife, each hand-crafted handle, is exquisitely crafted. I think it takes the skills and experience of a craftsman to match it.
This time, I had the opportunity to experience sharpening and patterning, and although these are just a few of the many knife-making processes, I think it was a valuable experience.
I don't think it's that easy to sharpen knives yourself at home after just having the experience of sharpening them, but I thought it would be a good idea to help people learn a little bit more about knives.
Let's go to a knife store!
If you don't understand it until you see it, go to a knife store and try holding a knife. However, most stores do not allow you to try cutting the knife, so you cannot check the sharpness before purchasing.
If you don't have a store that sells knives near you, it's best to purchase from a knife specialty store's mail order site.
"Japanese Kitchen Knife TOKU" has a video showing the actual cutting process, so please use it as a reference.
Leave a comment
This site is protected by hCaptcha and the hCaptcha Privacy Policy and Terms of Service apply.